
If you’ve ever scrolled Pinterest and thought, “I wish I could grow herbs at home… but I don’t have space or budget,” this is your project.
A DIY pallet herb garden is one of the cheapest, easiest, and most satisfying beginner projects you can build in a single afternoon. It transforms a boring wall, balcony, or tiny yard into a lush vertical garden—often for under $20 if you source materials smartly.
Even better? Most of what you need can be found for free or repurposed.
This guide walks you through everything—tools, materials, step-by-step process, images, cost breakdown, and pro tips—so you can build your own herb garden without stress.
🌿 Why This DIY Goes Viral (And Actually Works)
Let’s be honest—this project hits all the Pinterest triggers:
- ✅ Cheap (under $20)
- ✅ Beginner-friendly
- ✅ Small-space solution
- ✅ Aesthetic + practical
- ✅ Eco-friendly (recycled pallet)
And it’s not just trendy—it’s functional.
A vertical pallet garden:
- Saves space by growing up instead of out
- Keeps herbs within reach for cooking
- Improves drainage and airflow for healthier plants
🛠️ Tools & Materials (Beginner-Friendly)
You don’t need fancy equipment. Most items are basic DIY tools.
🔧 Tools List
- Drill or screwdriver
- Staple gun
- Hammer (optional)
- Measuring tape
- Sandpaper (medium grit)
- Scissors or utility knife
🌱 Materials List
- Wooden pallet (FREE or $5)
- Landscape fabric or old cloth
- Potting soil
- Herb plants or seeds
- Screws or nails
- Optional: paint or wood sealant
👉 Most guides agree these are the only essentials needed to build a pallet garden
💸 Cost Breakdown (Under $20)
Here’s a realistic beginner budget:
| Item | Cost |
|---|---|
| Recycled pallet | $0–$5 |
| Landscape fabric | $5 |
| Potting soil | $8 |
| Herbs (optional starter plants) | $5 |
| Screws/staples | $2 |
| Total | $15–$20 |
💡 Pro tip: Ask local stores or warehouses for free pallets—they often give them away.
🧱 Step-by-Step Guide (With Visual Breakdown)
🪵 Step 1: Choose the Right Pallet
🖼️ Image idea: Close-up of pallet stamp (HT marking)
Not all pallets are safe.
✔ Look for:
- “HT” (heat-treated)
- Clean, dry wood
- No chemical stains
❌ Avoid:
- “MB” (chemically treated)
- Moldy or damaged pallets
👉 Heat-treated pallets are safe for growing edible herbs
🧼 Step 2: Clean and Sand the Pallet
🖼️ Image idea: Sanding pallet surface
- Wash off dirt
- Let it dry completely
- Sand rough edges
Why this matters:
- Prevents splinters
- Helps fabric last longer
- Makes it look polished
🎨 Step 3: Paint or Seal (Optional but Recommended)
🖼️ Image idea: Painted pallet (before & after)
- Use outdoor paint or sealant
- Protects wood from rain and rot
👉 This step increases durability, especially outdoors
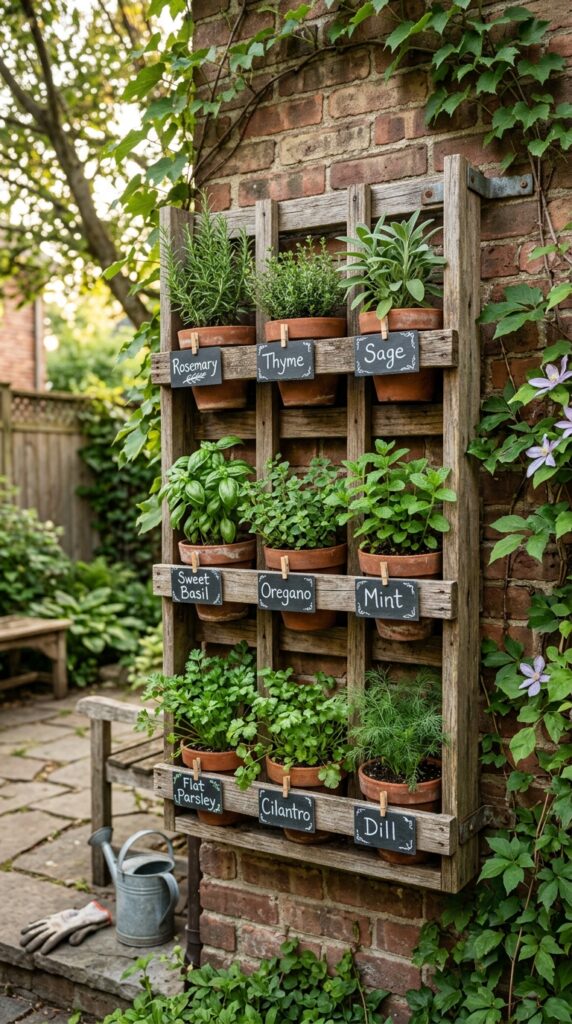
🧵 Step 4: Create Soil Pockets
🖼️ Image idea: Stapling fabric behind pallet slats
This is where the magic happens.
- Flip pallet to the back side
- Cut landscape fabric
- Staple along bottom and sides of each section
- Leave the top open
💡 You’re basically making “mini pockets” to hold soil.
👉 Fabric lining keeps soil in place while allowing drainage
🌱 Step 5: Fill with Soil
🖼️ Image idea: Filling pockets with soil
- Add potting soil into each pocket
- Press lightly (don’t compact too much)
Tip:
- Mix in a little perlite for better drainage
🌿 Step 6: Plant Your Herbs
🖼️ Image idea: Planting herbs in rows
Best beginner herbs:
- Basil
- Mint (keep separate!)
- Thyme
- Parsley
- Oregano
👉 Choose herbs based on sunlight and watering needs
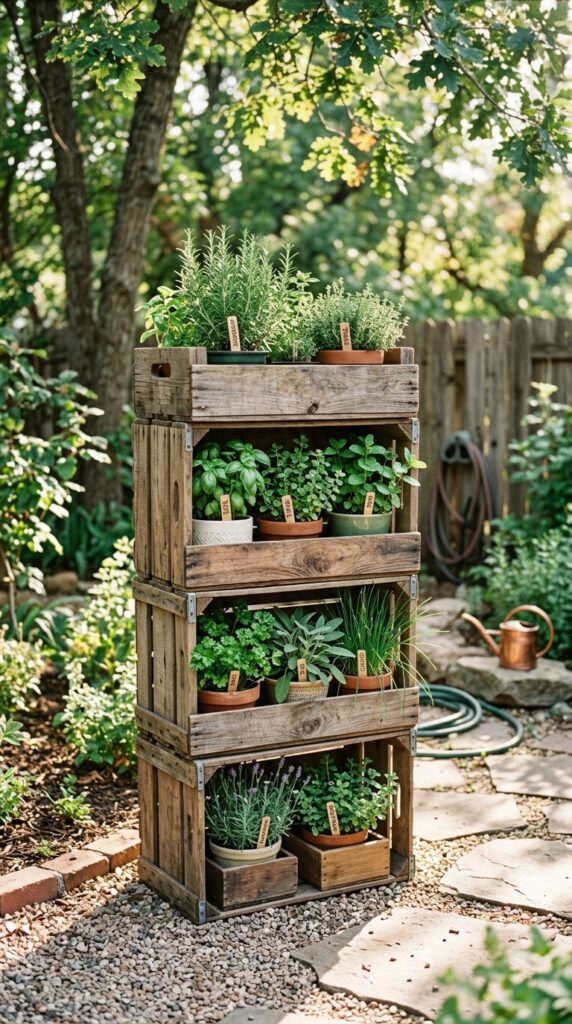
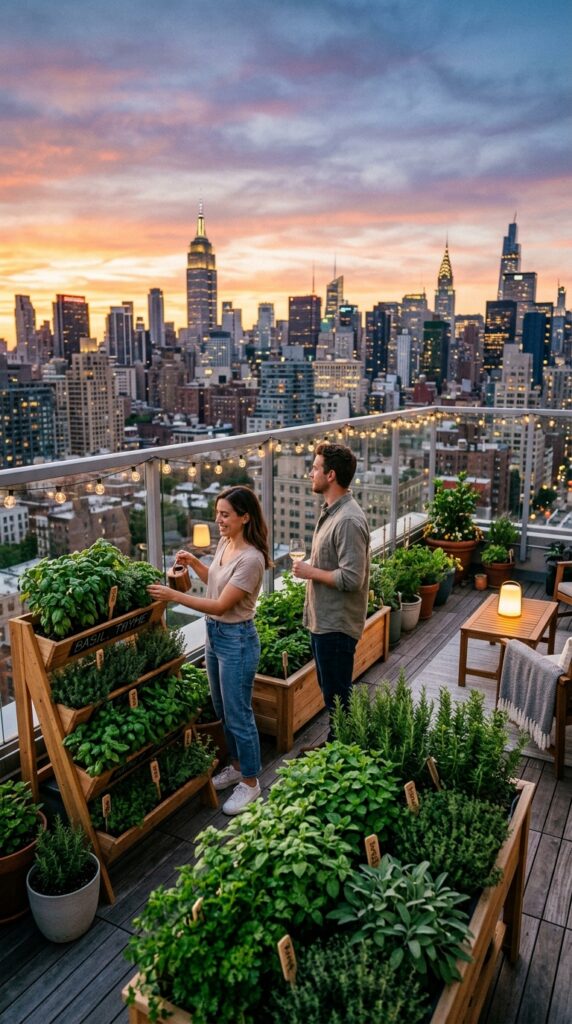
🧱 Step 7: Position Your Pallet Garden
🖼️ Image idea: Finished pallet against wall or fence
Options:
- Lean against a wall
- Mount on fence
- Place on balcony
Best location:
- 4–8 hours of sunlight daily
💧 Step 8: Water & Maintain
🖼️ Image idea: Watering herbs
- Water gently from the top
- Let water drip down naturally
- Top rows dry faster → water them first
🌟 Beginner Tips That Make a BIG Difference
💡 1. Start Small
Don’t overplant—3–5 herbs is perfect for beginners.
💡 2. Group Herbs Smartly
- Top rows → drought-tolerant (thyme, rosemary)
- Bottom rows → moisture-loving (mint, parsley)
💡 3. Avoid Overwatering
Too much water = root rot.
💡 4. Use Good Soil
Cheap soil = weak plants.
💡 5. Harvest Often
Cutting herbs encourages more growth.
⚠️ Common Mistakes to Avoid
❌ Using chemically treated pallets
❌ Skipping fabric lining
❌ Overcrowding plants
❌ Placing in low sunlight
❌ Forgetting drainage
🌿 Real-Life DIY Insight (From Reddit Community)
Here’s what DIYers actually say:
“Total cost? Under $30 using recycled materials.”
Another user warned:
“Make sure it says HT… otherwise not safe for edible plants.”
👉 Translation: cheap is great—but safety matters.
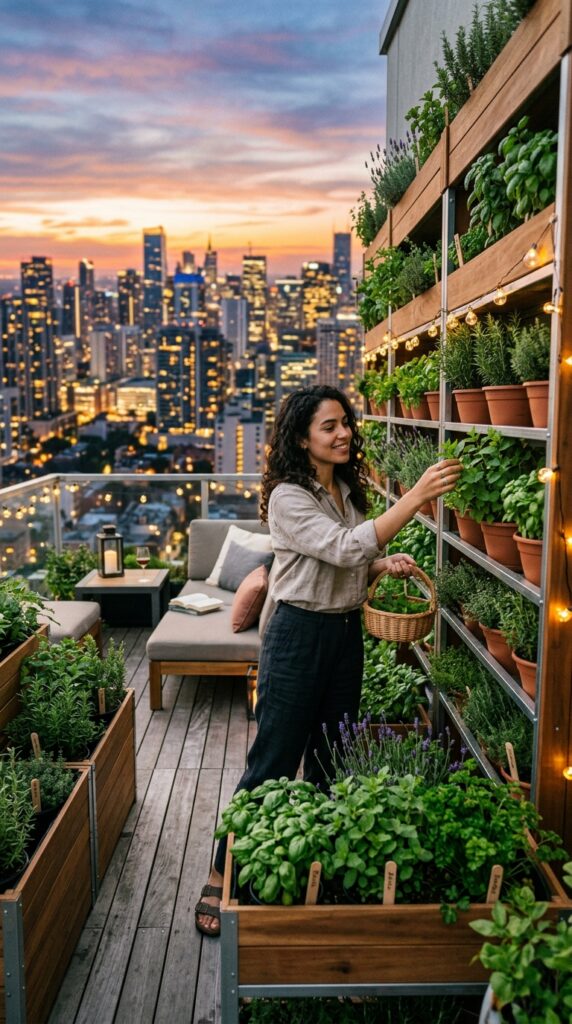
🏡 Where You Can Use This Garden
This works almost anywhere:
🏢 Balcony
Perfect for apartments
🏡 Backyard Fence
Adds greenery to empty walls
🧱 Small Patio
Creates a vertical garden feature
🪟 Kitchen Wall (Outdoor)
Convenient for cooking herbs
🌱 Best Herbs for Beginners
| Easy Herbs | Why They Work |
|---|---|
| Basil | Fast-growing |
| Mint | Hard to kill |
| Parsley | Low maintenance |
| Thyme | Needs little water |
| Oregano | Very resilient |
🔄 Upgrade Ideas (Optional)
Once you master the basic version:
- Add drip irrigation system
- Paint aesthetic designs
- Label each herb
- Add LED grow lights (for indoors)
- Build wheels for mobility
🌿 Why This Project Is Perfect for Beginners
Let’s recap why this DIY is so powerful:
- No carpentry experience needed
- Minimal tools
- Low cost
- Quick build (2–3 hours)
- High visual reward
✨ Final Thoughts
A DIY pallet herb garden is more than just a craft—it’s a lifestyle upgrade.
For under $20, you get:
- Fresh herbs anytime
- Aesthetic greenery
- A satisfying DIY win
And the best part?
You’ll look at that empty wall or balcony and think:
👉 “I built that.”